
Who’s ready for the new MINIONS movie? We recently had a Minions Backyard Bash and my friend Jeanna taught me how to make a Minions cake for the get together. Yes, our DIY Minions cake recipe was super fun and I cannot thank her enough for teaching me! Rather than include our DIY Minions Brownies recipe and the cake in the same post I decided to break things up a bit so you’ll decently want to check out our Minions Brownies recipe for your next Minions Party.

How to make a MINIONS Cake
What you will need:
- 3x boxed cake mixes (or your favorite cake batter)
- 8” or 9” cake pan
- Metal or glass oven proof bowl approx. same size as cake pans.
- Wooden skewers or toothpicks
- Some doweling
- Butter Cream Icing
- Marshmallow Fondant
- Food coloring (blue, black yellow and brown)
Let’s make this MINIONS Cake
- Bake 5 round layers according to your packages directions. Use the remaining batter and bake it in a round oven proof bowl.
- While your cake is baking and cooling prepare your butter cream frosting and marshmallow fondant. Set them aside for later.
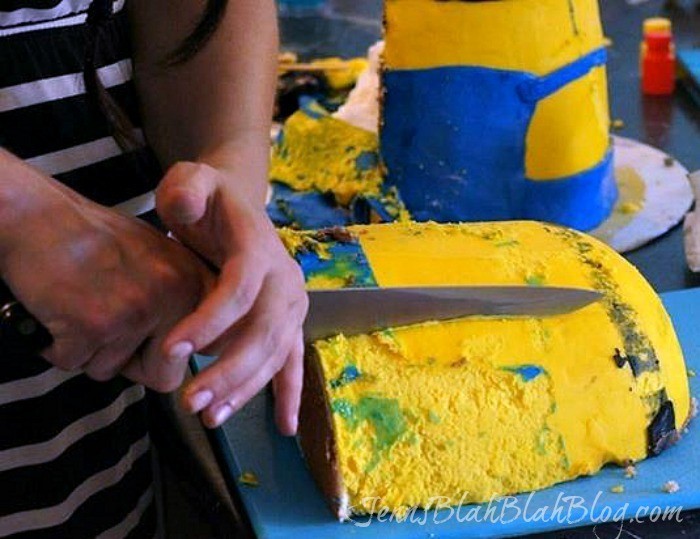
- When your layers are cool, trim them all down, so they are flat and even. Trim the bowl cake down, so it will fit nicely on top to make your minions head.

- Once your cake is set you will frost the whole thing with your yellow butter cream.. or if you want you can cover the whole thing in yellow fondant, that’s up to you. I iced mine. Set back in the fridge to set while you make your decorations.
- Start filling your cake. Pipe a dam of butter cream around each layers edge and then fill the middle with your choice of filling.

- Once your cake is filled, you will want take your dowel pieces and line them up beside the cake. Take your measurements and cut them. Shove the dowel down inside the cake. You will need a minimum of 2, but 3 is optimal.
- Now you will want to do your crumb coat. Spread a very thin even coat over the entire cake. Don’t worry about appearance, you will be covering this up. After its finished set the cake in the fridge for 30 minutes to set up.

- Make the overalls first with blue fondant. Place a rectangle on the front, add a small triangle pocket with the “g” on it. Add a larger rectangle on the back. Attach the front and back with a 2” band along the bottom and thin straps over the shoulders. Make two black buttons and add those to the straps.
- Do the legs next. Two fat chunks of blue and two chunks of black. Push a toothpick or skewer into the ends of each leg to help hold the onto the cake.
- Next is the arms. Again, attach to the body with toothpicks, and rest the hands on the legs to help with stabilization.
- Make your goggles/eyes with a few different sized circle cutters. Stick them on and then make a flat black strap and connect it, wrapping it around the head.
- Last is the hair. I simply took small pieces of black and wrapped them around toothpicks, then poked them in the top. Add a thin piece on the face as well for a cute little smile!
Enjoy
I have to say it one more than! Thank you so much, Jeanna, I cannot tell you how much fun I had making this Minion cake! Thank you for sharing your cake decorating skills with me! I don’t know that I could have done it without her. Well, I could have but I don’t know that it would have turned out looking like a Minion Cake lol.

Go back to where it all started, don’t miss the Minions Movie in theaters July 10th!
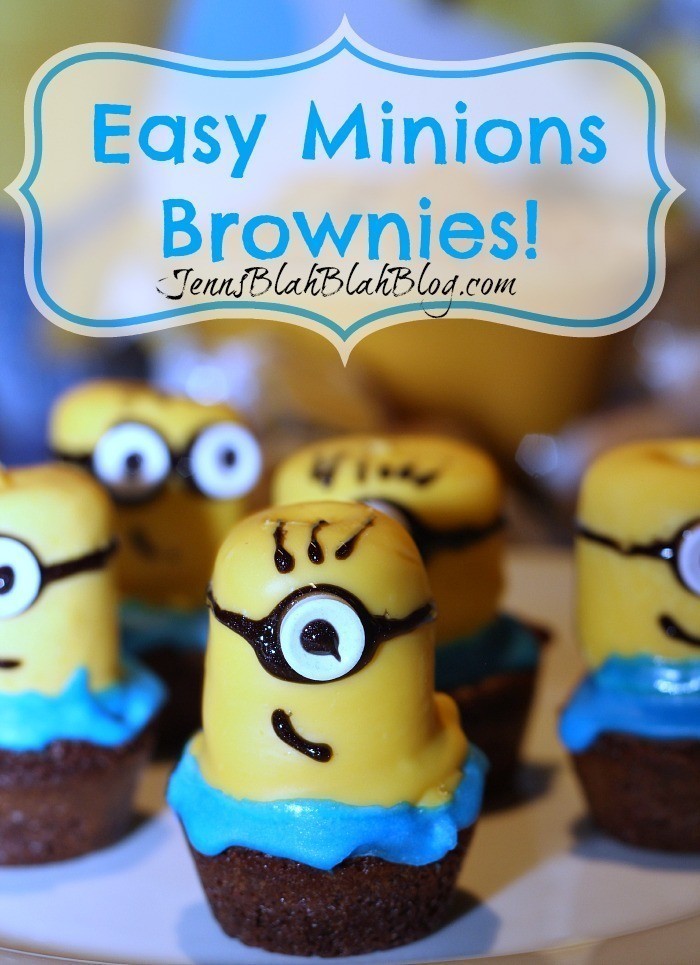
Be sure to check out our Minions Brownies Recipe, and our Minions Backyard Bash Party for more great Minions Party Ideas!

Ingredients
- 3x boxed cake mixes (or your favorite cake batter)
- 8” or 9” cake pan
- Metal or glass oven proof bowl approx. same size as cake pans.
- Wooden skewers or toothpicks
- Some doweling
- Butter Cream Icing
- Marshmallow Fondant
- Food coloring (blue, black yellow and brown)
Instructions
- Bake 5 round layers according to your package directions. Use the remaining batter and bake it in a round oven proof bowl.
- While your cake is baking and cooling, prepare your butter cream frosting and marshmallow fondant. Set them aside for later.
- When your layers are cool, trim them all down, so they are flat and even. Trim the bowl cake down so it will fit nicely on top to make your minions head.
- Once your cake is set you will frost the whole thing with your yellow butter cream.. or if you want you can cover the entire thing in yellow fondant, that's up to you. I iced mine. Set back in the fridge to set while you make your decorations.
- Start filling your cake. Pipe a dam of butter cream around each layer's edge and then fill the middle with your choice of filling.
- Once your cake is filled, you will want to take your dowel pieces and line them up beside the cake. Take your measurements and cut them. Shove the dowel down inside the cake. You will need a minimum of 2, but 3 is optimal.
- Now you will want to do your crumb coat. Spread a very thin even coat over the entire cake. Don't worry about appearances, you will be covering this up. After it's finished, set the cake in the fridge for 30 mins to set up.
- Make the overalls first with blue fondant. Place a rectangle on the front, and add a small triangle pocket with the “g” on it. Add a larger rectangle on the back. Attach the front and back with a 2” band along the bottom and thin straps over the shoulders. Make 2 black buttons and add those to the straps.
- Do the legs next. 2 fat chunks of blue and 2 chunks of black. Push a toothpick or skewer into the ends of each leg to help hold the onto the cake.
- Next is the arms. Again, attach to the body with toothpicks, and rest the hands on the legs to help with stabilization.
- Make your goggles/eyes with a few different sized circle cutters. Stick them on and then make a flat back strap and connect it, wrapping it around the head.
- Last is the hair. I just took small pieces of black and wrapped them around toothpicks, then poked them in the top. Add a thin piece on the face as well for a cute little smile!